
How To Convert PDF To JPG - Tutorial
Learn how to use PDF To JPG to convert PDF documents to image formats
 Step 1: Download PDF To JPG
Download PDF To JPG from the official website download page:
https://www.pdfjpg.com/download.html
OR download from the direct installation link:
https://www.pdfjpg.com/down/pdftojpg.exe
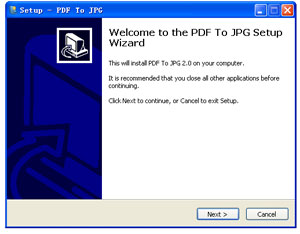
Step 2: Installation
Run the downloaded EXE file (pdftojpg.exe) to start installation, click on Next Step button 4 times to install PDF To JPG on you PC.
Step 3: Add PDF Documents to PDF To JPG
After installation, double click the PDF To JPG icon on your desktop. You will see a Window ask you to select a format to convert into. Click on your favorite output format then you will see the main window. Click the Add button to add a PDF file into the file list.
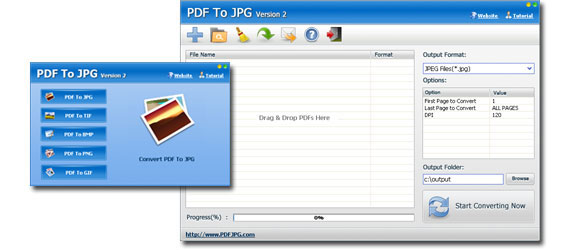
Step 4: Set DPI, Page Range and Output Path
At the right side of the main window you can see a form, which you can set the output image DPI and conversion page range. Below the form, there is a Browse Button. Click on Browse button to select a folder path, which will be the destination of converted image files.
Step 5: Start the Task
Click on Start Converting Now button to start the conversion task.